

Introduction:
Welcome to a quick and straightforward guide in our Beat Saber VR series! In this installment, we'll focus on a fundamental step: adding the OVR Camera Rig to your Unity scene. Let's dive right into the process.
Step 1: Import Oculus Integration Package:
Download Oculus Integration from the Unity Asset Store.
In Unity, navigate to
Windows -> Package Manager -> Oculus Integration.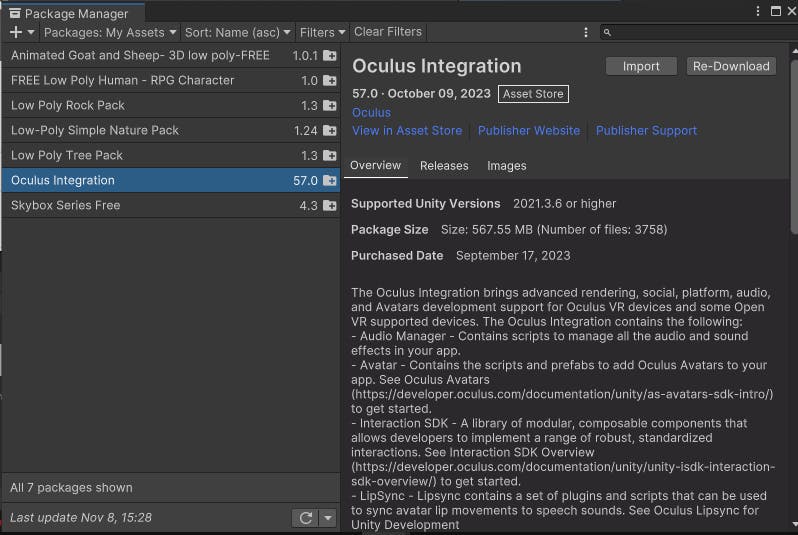
Select the downloaded Oculus Integration package and import all components.
Check this blog for a detailed explanation: https://akashrj.hashnode.dev/3-project-creation-and-oculus-integration
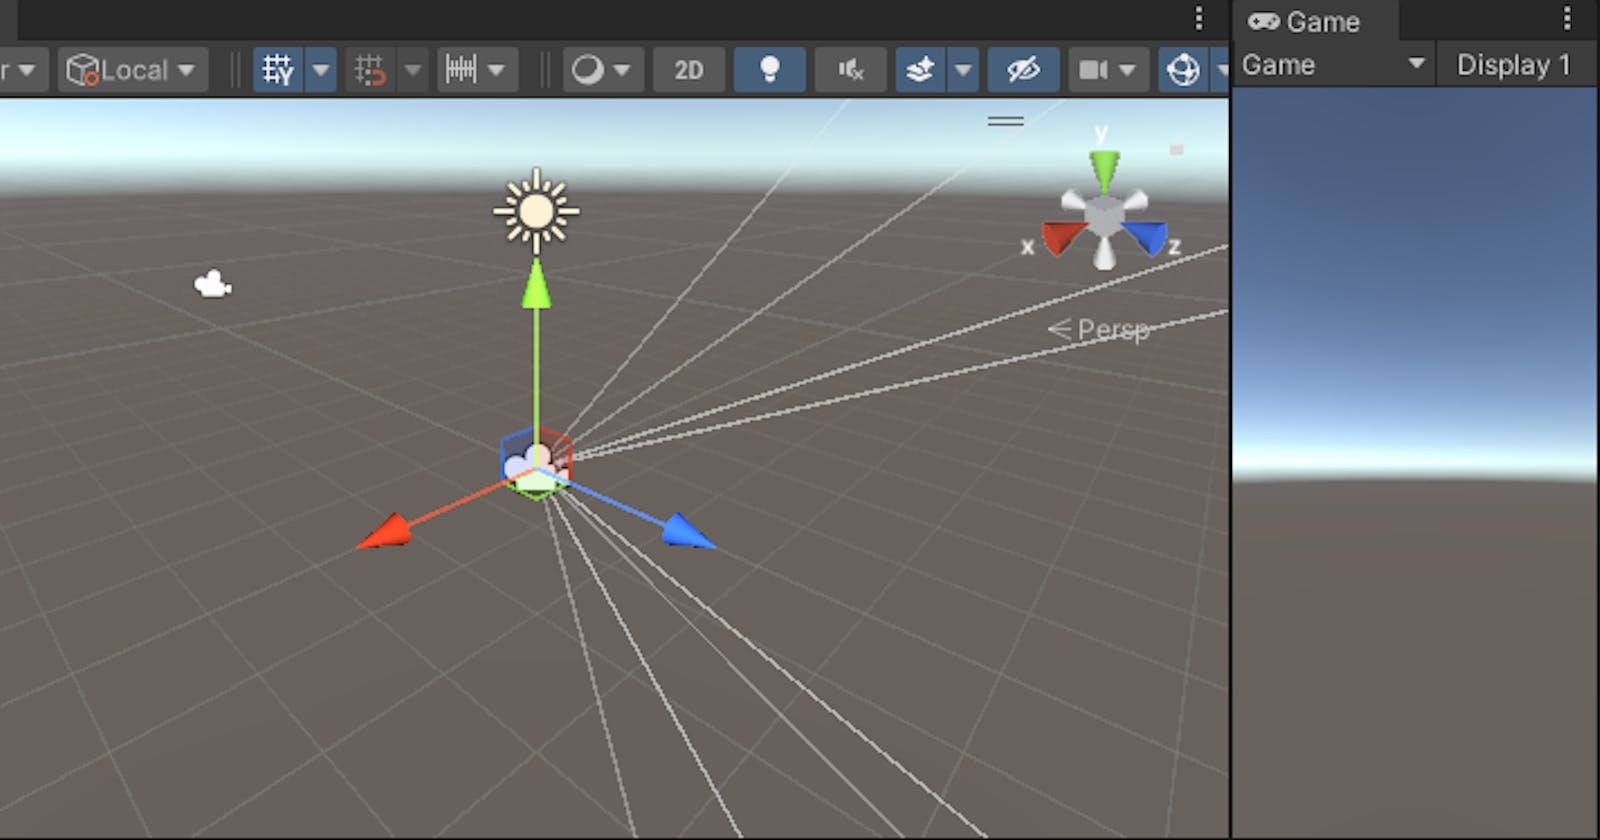
Step 2: Create OVR Camera Rig in Scene:
Open
Assets, Go toOculus, and thenVR.Go to
Prefabsand you will seeOVRCameraRig.
Place the OVR Camera Rig in your scene by adjusting its position as needed.
Step 3: Test the SetUp in Quest 2 via Android build:
Open
File -> Build Settings.In the Player Settings, navigate to
Android.Check your Quest 2 is visible in there.

Click the
switch platformbutton and thenBuild and Run.
Step 4: Optional Customization:
Select the OVR Camera Rig in the Hierarchy.
Customize settings in the Inspector window, such as tracking type or player controller.
Adjust the
PlayerControllercomponent'sInitial Y Positionto set the player's height if needed.
Conclusion:
And there you have it! In just a few simple steps, you've successfully added the OVR Camera Rig to your Unity scene. This sets the stage for an immersive VR experience in the world of Beat Saber.
Happy Coding :)