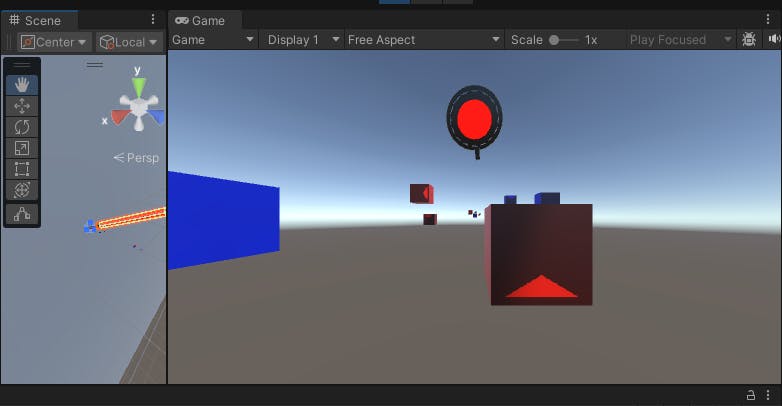
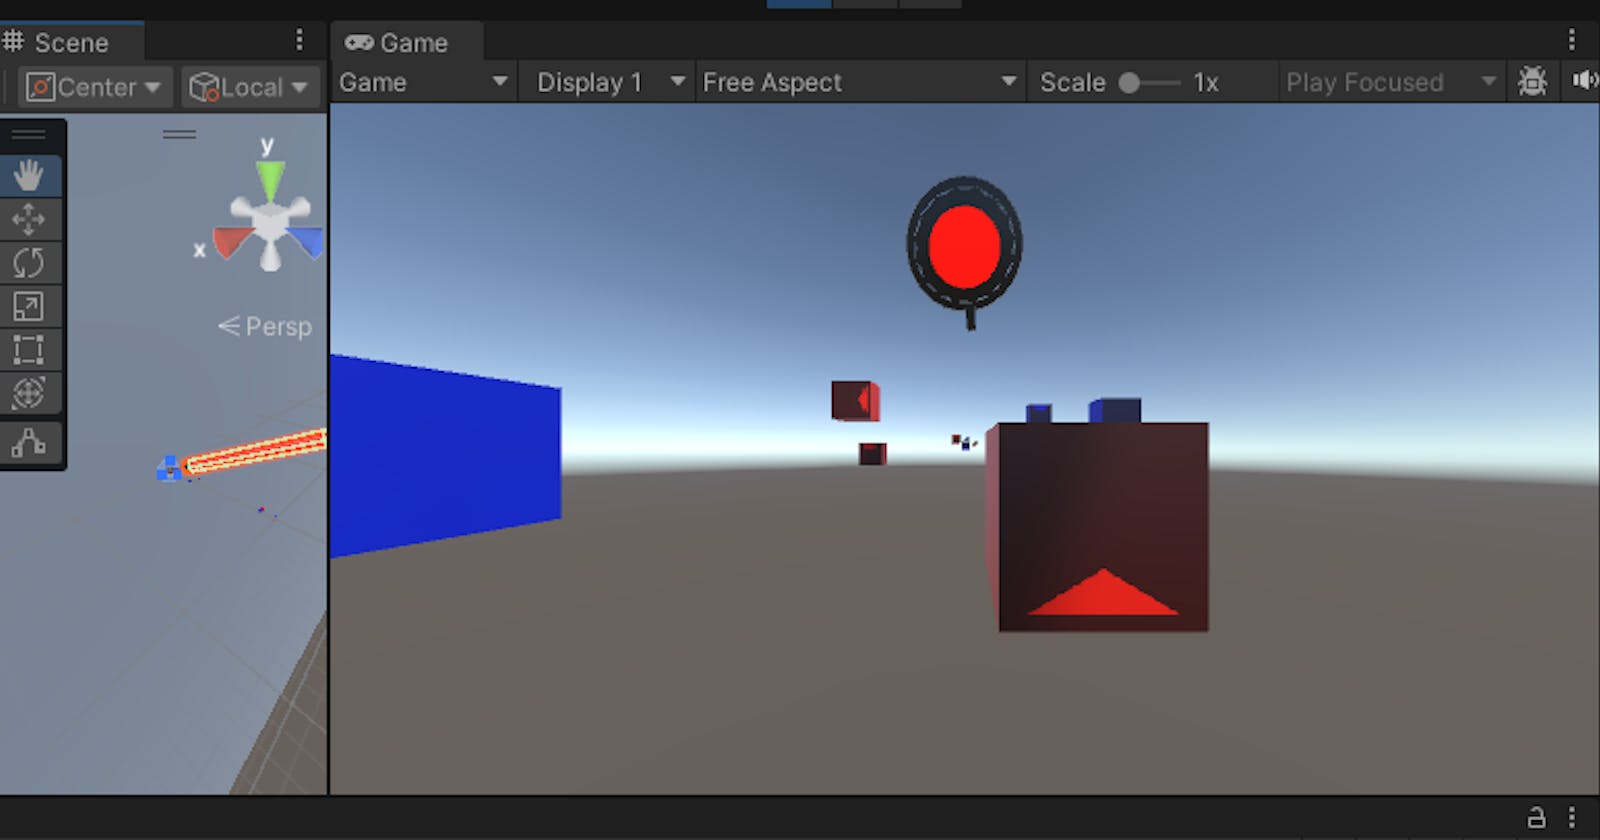
#13 Unleashing the Red Power: Duplicating and Elevating the Red Lightsaber
Introduction:
Welcome, rhythm architects! In this installment of our Beat Saber VR series, we're focusing on a dynamic visual upgrade—the duplication of the iconic red lightsaber. Join us as we delve into the art of replication and customization, elevating the virtual symphony with the pulsating energy of duplicated red lightsabers.
Step 1: Selecting and Duplicating the RedLightsaber Prefab:
Locate RedLightsaber Prefab:
- Navigate to your project assets and find the RedLightsaber prefab.
Duplicate the Prefab:
Right-click on the RedLightsaber prefab and select "Duplicate."

Rename the duplicated prefab if needed.
Duplicate Blade Script:
Create RedBlade Script by duplicating Blade script, and add that to the RedCube Prefab.
 using System.Collections;
 using System.Collections.Generic;
 using UnityEngine;

 public class RedBlade : MonoBehaviour
 {

     public AudioClip destroySound; // sound added in Lightsaber, check in inspector
     private AudioSource audioSource;
     private Vector3 previousPosition;

     private Rigidbody bladeRigidbody; // Reference to the rigid body

     // Define a threshold angle for similarity
     float angleThreshold = 130.0f; // adjust this value based on your requirements

     // Start is called before the first frame update
     void Start()
     {
         audioSource = GetComponent<AudioSource>();
         previousPosition = transform.position; // Initialize the previous position
     }

     // Update is called once per frame
     void Update()
     {
         // Update the previous position in each frame
         previousPosition = transform.position;
     }

     private void OnTriggerEnter(Collider other)
     {
         // if (other.tag == "Arrow") // if it is "Arrow" it is destroying when blade has touched the quad - working
         if (other.tag == "RedCube")
         {
             Debug.Log("Trigger entered with object: " + other.name);

             // Check the direction of the sword swing
             Vector3 swordSwingDirection = (transform.position - previousPosition).normalized;
             Debug.Log("swordSwingDirection: " + swordSwingDirection);

             // Get the direction of the arrow on the cube (you might need to adjust this based on your setup)
             Vector3 arrowDirection = other.transform.up; //we are checking top of cube and swod swing angle

             Debug.Log("arrowDirection: " + arrowDirection);

             // Get the angle between the sword swing direction and arrow direction
             float angle = Vector3.Angle(swordSwingDirection, arrowDirection);
             Debug.Log("Angle: " + angle);

             // Check if the angle is within the threshold
             if (angle > angleThreshold)
             {
                 // Play the destroySound
                 audioSource.clip = destroySound;
                 audioSource.Play();

                 // Destroy the cube only if the sword is swung in the right direction
                 Destroy(other.transform.parent.gameObject);
             }

             previousPosition = transform.position;
         }
     }
 }
Fine-Tuning Properties:
Adjust the properties of the duplicated RedLightsaber prefab.
Customize color, size, and any specific characteristics to enhance the visual spectacle.
Player Interaction:
Modify the LightsaberController script to accommodate both blue and duplicated red lightsabers.
Ensure seamless interactions and responsiveness with the newly introduced red lightsaber.
Step 2: Testing and Refinement:
Enter Play Mode:
Test the scene in Unity's Play mode to experience the impact of the duplicated red lightsaber.

Refinement as Needed:
Iterate based on playtesting feedback.
Fine-tune interactions, animations, or any other elements to achieve a harmonious blend.
Conclusion:
With the red lightsaber duplication complete, you've not only expanded the visual palette of your Beat Saber VR experience but also added an extra layer of dynamic interaction. Prepare to immerse players in a vivid symphony of color and rhythm.
Happy Coding :)
